Adding text to a Gerber layer
Using markup to add text to a Gerber layer
GerbView has an extensive set of markup tools and all of them can be made a permanent part of a Gerber layer, a process we call burn in.
These tools can be very useful if you want to add a text to an already generated Gerber layer.
You can access all the available markup tools from the markup tab (press the Markup tab to activate):

Adding Text
Press the Text tool and then press the left mouse button at the desired location within the layer extents.
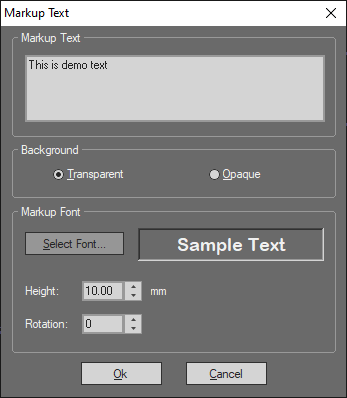
A dialog like the one below will then appear:

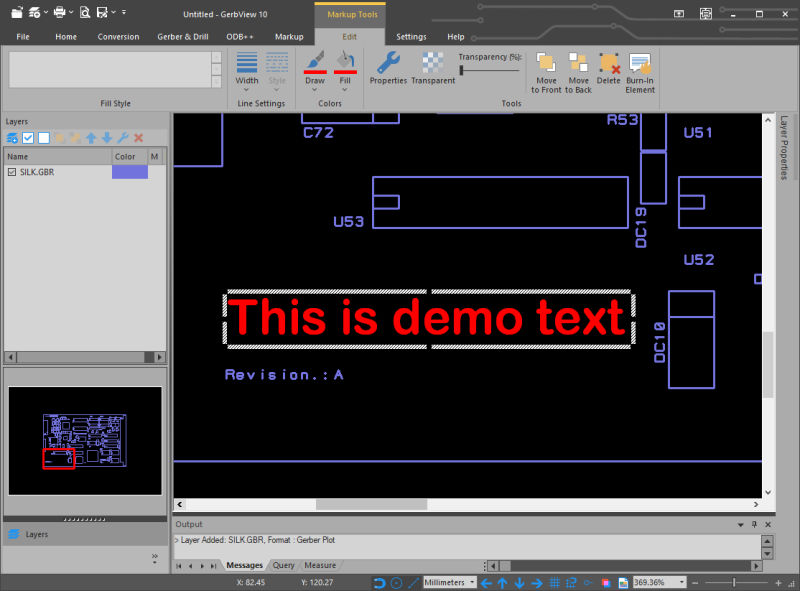
The heigh field contains the initial text height after being placed, you can change resize the text by dragging the text corners.
You may change the text rotation in 45-degree steps by pressing the 'R' key while the text is selected.
It is also possible to mirror the text by pressing the 'M' key while the text is selected.

When text is ready to be burned in, you can select Burn-In Element from the edit markup toolbar, or just press the 'B' key.
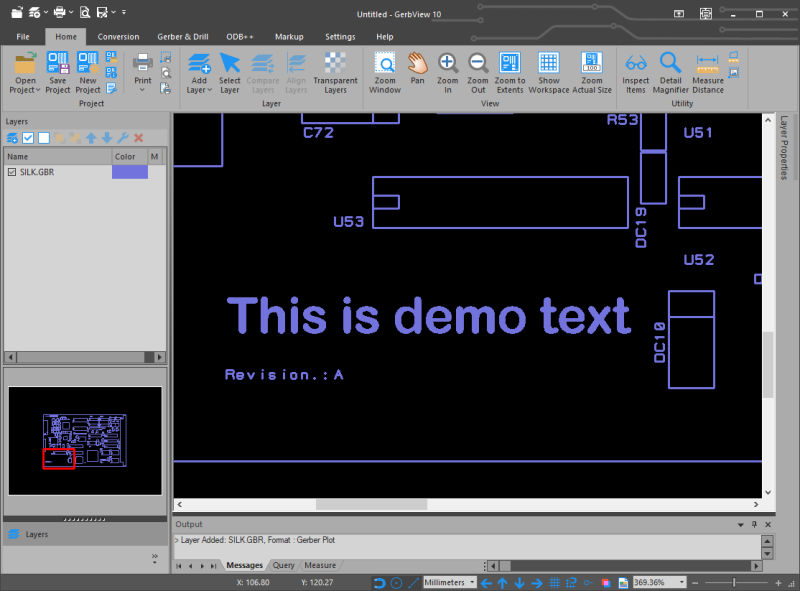
After burn in the text will be a part of the Gerber layer as shown in the following picture:

You can use any available TrueType font that are installed on your system to add text.
When you're satisfied with the result you can save it to a new Gerber file, using the Save as RS-274X command found under the Conversion tab.


