Adding picture, QR and logo to a Gerber layer
Using markup to add picture, QR and logo to a Gerber layer
GerbView has an extensive set of markup tools and all of them can be made a permanent part of a Gerber layer, a process we call burn in.
These tools can be very useful if you want to add a picture, for example your company logo, or a QR to a layer.
You can access all the available markup tools from the markup tab (press the Markup tab to activate):

Adding Pictures and Logos
Press the Picture tool and then select From File to add a picture from file.
The option named From Clipboard to paste an image will be activated, if you've already copied a picture to the clipboard from another application.
After you've selected the picture file you want to use, the picture will be displayed centered on the screen:
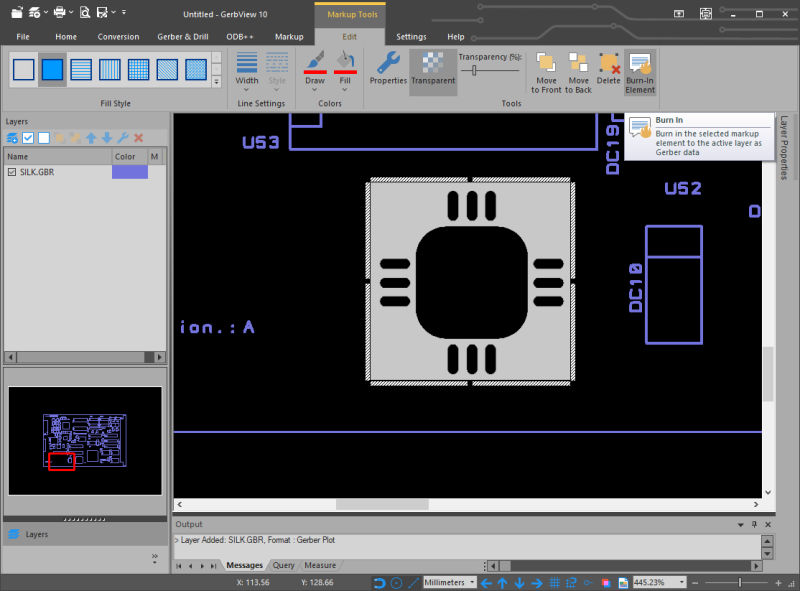
You can scale and move the picture to the desired position. Make sure the correct Gerber layer is selected if you have more than one layer loaded.
Then you may select Burn-In Element from the edit markup toolbar, or just press the 'B' key.
After burn in the picture will be a part of the Gerber layer as shown below:
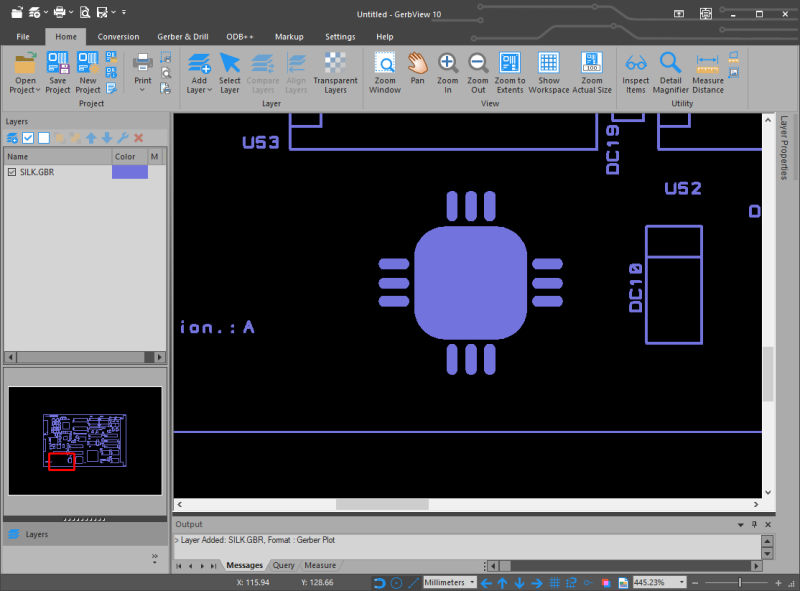
Since the Gerber format do not support colors, the result will be better if the picture you're adding do not contain too many colors.
White color will be treated as transparent background as shown above and, other colors will be dithered using dark pixels.
Adding QR-Codes
You may use the same method to add and burn in QR codes.
To do this just press the QR Code tool and the following dialog will be displayed:
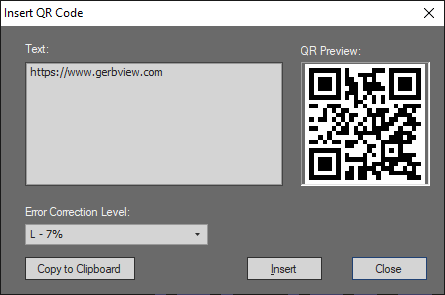
Enter the text you want to encode and then press Insert
The QR code will be added as a markup element which you can move and scale:
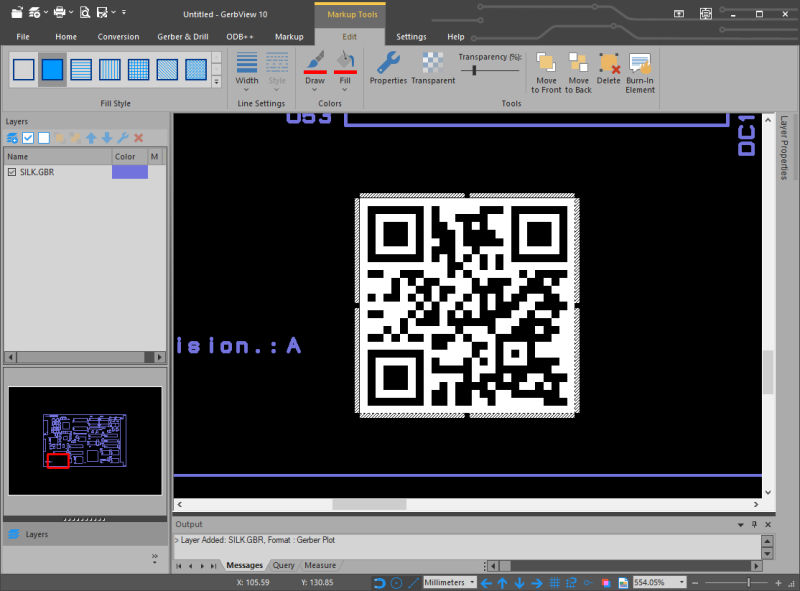
When the QR is in the correct place, select Burn-In Element from the edit markup toolbar, or press the 'B' key.
After the burn in the QR code will be a part of the Gerber layer as shown below:
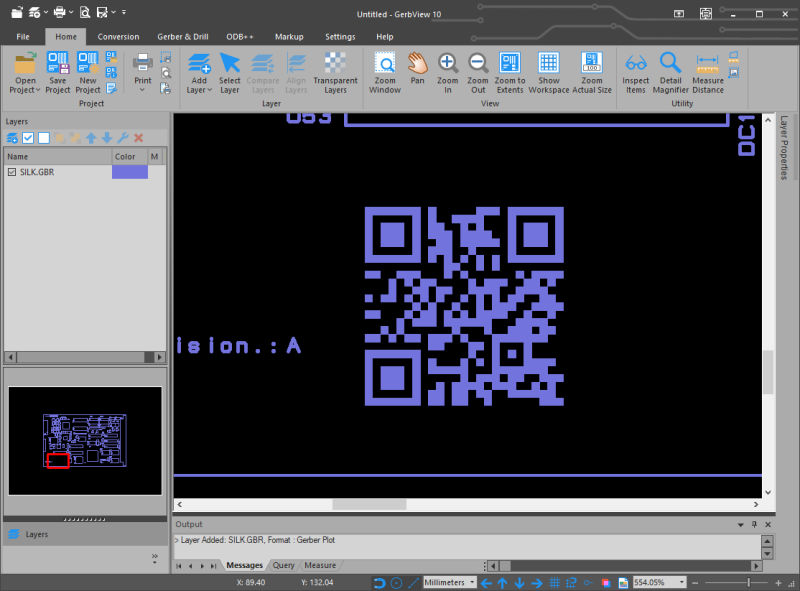
You can add other types of barcodes using the same method as described above.
The following barcode types are supported:
- Code 39
- Code 93
- Code 128-A
- Code 128-B
- Code 128-C
- Datamatrix 2D
- EAN-13
- PDF417
- Aztec
When you're satisfied with the result you can save it to a new Gerber file, using the Save as RS-274X command found under the Conversion tab.


